Friday, September 30, 2016

Friday Focus on Prima

Double click any photo to zoom in for details.
Hello!  Linda here with this week's Friday Focus.  It's great to be back sharing here on Frilly and Funkie!  This fortnight's Friday Focus is on Prima products.  We carry a wide selection of Prima products at The Funkie Junkie Boutique.  And I must say, I had the best time playing with all these yummy supplies making my autumn canvas.  

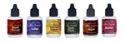
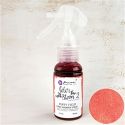
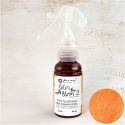
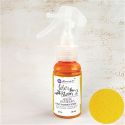
I really enjoy the fall season.  It's definitely my favorite time of the year with all the warm, rich hues. Starting with a Prima 8x10" Watercolor panel as my base,  I used the Prima Color Blooms 2 sprays for the first time ever and I must say, they totally knocked my socks off.  The colors are so strong and vibrant!  I started with Poppy Field but I wanted a little green mixed in and there really wasn't the right green in the Color Blooms 2 selection so I used a few little shakes of Ken Oliver Color Burst Pthalo Green and then spritzed on the Poppy Field Color Bloom.  Then I added a few sprays of Pot Marigold Color Bloom and wow, it's looking gorgeous already!


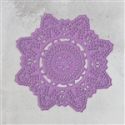
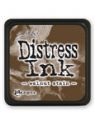
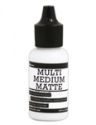
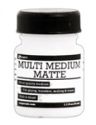
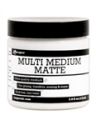
I wanted my piece to be on the shabby chic side and decided I wanted a doily.   The Prima Crochet Doily die is one of my favorites and I was happy to have the opportunity to use it.  I used plain white card stock and die cut the doily.  Next it was stamped with the Wendy Vecchi Text background stamp and sponged with Vintage Photo and Walnut Stain distress ink.  Ranger Multi Medium Matte was used to affix my two doily die cuts to the panel.  


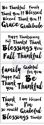
Another first time product use for me on this project was Prima's Adhesive Rub Ons and Foil Transfer Sheets by Christine Adolph.  I used Blessings for the adhesive rub ons and the Shine On Rub On Foil.  Both were super easy to use, went on easily and the foil transfer covered completely.  I will definitely be using more of these!


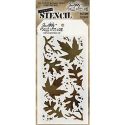
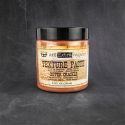
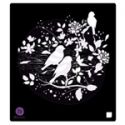
Next came another sensational product - Prima's Copper Crackle Texture Paste.  I used it over the Birdy Nest stencil.  


I was able to let it dry overnight and raced into my craft room as soon as I got up the next morning - ooh-ee!  Was it ever gorgeous!  I've noticed lately that micro beads seem to be making a resurgence.  I remembered that way down in my stash, I have some copper micro beads and added a few here and there for texture.  


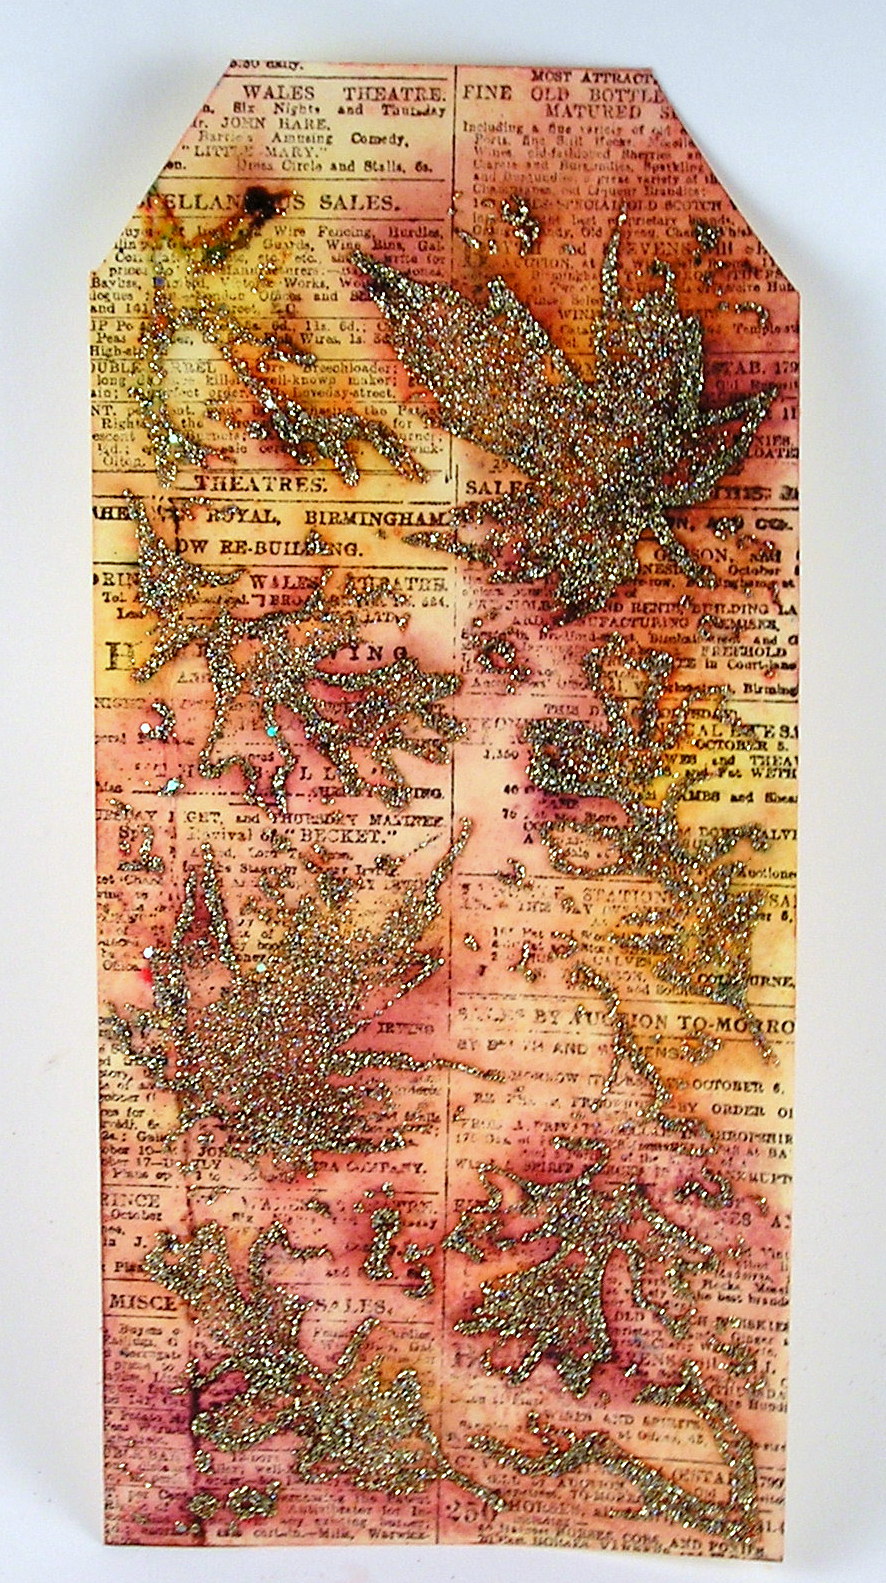
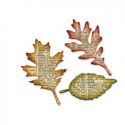
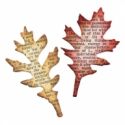
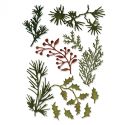
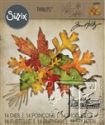
I also started adding some embellishments.  Also in my stash, left over from last fall's crafting, were some leaves cut with the Tim Holtz Fall Foliage Thinlits die set.  They had been randomly stamped with script and text stamps and colored in fall colors with distress inks.  A few were added with a tiny clock charm and a scrap of dyed seam binding.  


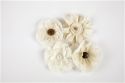
Next came the flowers.  Here I went for the Prima Art Basics Finnabar Alterable Flowers.  The one  below was altered with the Poppy Color Bloom.  


And this one was altered with the Dandelion Color Bloom pus a little spritz of Pot Marigold, smoothed around on my craft sheet until I got the color combo I was going for.  Both flowers were crumpled up and dried in that shape.  Once dry, the layers were gently unfurled.  They held their shape and gave a lot of dimension.  


I love the colors and the way they look with the leaves behind them!


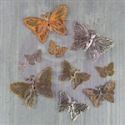
And just one final embellishment, a gorgeous rusted butterfly from Prima Mechanicals:  Grungy Butterflies.


There you have it.  This was such a super fun make.  I hung it up at The Funkie Junkie Boutique for my lovely ladies to enjoy throughout the fall season!  And you can make a similar project.  Most of our Prima products at The Funkie Junkie Boutique will be on our Friday Focus sale with an additional 15% off - that's a total of 35% off retail from now through October 13th.  

***Please Note:  discount does not apply to anything in our New Arrivals section***

Thanks so much for stopping by!

These products were used to make the above canvas.  They are available at The Funkie Junkie Boutique where most major brand names are always 20% below MSRP.   Additionally, most of our Prima stock will be an additional 15% off through October 13th.

SaveSave

Wednesday, September 28, 2016

Going Round in Circles!

Hello and welcome! It's Sue here and I'm your host for the current challenge. Including circles in my projects is one of my favourite things to do, so for this challenge I want to see circles, lots of circles, not just one! Stencilled, stamped or even a circular project such as a wreath!

The team will choose their top four picks with the winner being invited to join us in a Guest DT spot here at Frilly and Funkie and the next three will receive badges to display on their blogs. Everyone who enters and follows the rules will be entered into the draw to have the chance to win a $25 spending spree at The Funkie Junkie Boutique.

The guidelines for entering are simple; create a new vintage or shabby chic project following the challenge theme, link it below to your post (not just your blog) and also include a link back to this challenge in your post. You can combine our challenge with up to 10 challenges (including this one) to be in with a chance of winning. Make sure you follow these rules as unfortunately we have had to eliminate entrants from the prize draws in the past when they have entered too many other challenges. If you are entering through a public forum please use keyword F&F. Also, please be sure to turn off your Word Verification so our Design Team can leave comments on your blogs.

Here are the fabulous creations from the Funkie side of the team!

Suzanne Czosek - Suzz's Stamping Spot 

Jenny Marples - Pushing The Right Buttons

Sue Carrington - Stamping Sue Style

Zoe Hillman - iGirlZoe

*******************************************************
WEEK ONE

Here are the wonderful creations from the Frilly side of the team!

Kathy Clement - Kathy by Design

Cec Wintonyk - CW Card Creations

Linda Coughlin - The Funkie Junkie

Now it's your turn to share those circles here at Frilly and Funkie! Enter your projects below and remember to come back tomorrow to see what our latest Guest Designer has created. And of course next week there will be more inspiration from the Funkie side of the Design Team.

Sue


Monday, September 26, 2016

Challenge Winners - Things With Wings

Welcome to the beginning of a new week! It's time to announce our latest Frilly and Funkie challenge winners. Thank you so much to everyone who took the time to enter our 'Things With Wings' challenge. The Design Team were amazed by the high standard of the entries you created and had lots of favourites to choose from. This time our overall winner is #18 Shilpa.


Shilpa created the most delicious vintage framed butterfly using her favourite Tim Holtz and Sizzix products. We recommend a closer look on her blog post. Congratulations Shilpa on being our favourite for the 'Things with Wings' challenge and winning the opportunity to be a Guest Designer here at Frilly and Funkie for a future challenge.

And now for the next three winners of our Frilly and Funkie Top 3 Badges; this week's choices, in numerical order, are... #16 Lisa F, #19 Sara Emily, and #36 Inkysplatters (Donna)!!! Please email Linda at thefunkiejunkie@gmail.com for the codes for the Top 3 badges so that you can display them proudly on your blog.


And finally Random.org has chosen a lucky winner for the $25 gift certificate to The Funkie Junkie Boutique. Our congratulations this time go to #3 Joi!

A huge thanks from the Frilly and Funkie team to everyone who took part in this challenge and congratulations again to our winners. Please email Linda at thefunkiejunkie@gmail.com for the codes for the winner's badge and to give us your email address for the Guest Designer details (Shilpa) for the Top 3 badges (Lisa, Sara Emily and Donna) and for the gift certificate details (Joi).

Our current challenge, 'Going Round in Circles!' runs through Tuesday, October 4th. We hope to see you entering this time around so that you too can be in with a chance to win.

Have a great week everyone!

Saturday, September 24, 2016

Saturday Step By Step - Golden Leaves

Welcome!  Suzz here.  I love fall and any opportunity to play with leaves and the warm autumnal colors is something I love to do.  I decided to play around and create a fall tag using stencil, glue stick color bursts and glitter.

1. Take a manila tag and stamp text in the background  using Archival blank ink.
(Don't worry about uneven or faded stamping it works very well as a background.)
Tip: I used a manila tag but this involves a lot of water. Watercolor paper or a mixed media paper would have worked better in absorbing the water.

2.  Place the leaf stencil  over the stamped tag. Rub on glue from a glue stick in the openings.  Repeat until entire tag is covered with leaves. Make sure to clean off your stencil thoroughly after you are finished with the glue stick.  Baby Wipes or warm water will clean it up quickly.


3. Squirt puffs of color randomly over the surface of the tag.  The colors on this tag are Merlot, Burnt Orange, and Yellow Ochre.
Tip: Do this in a box or contained space.  The color bursts are gift that keep on giving. I have picked up the tiniest speck of a color burst on other projects because I didn't get them all off my crafting mat.
4. Take a brush and spread the color burst powder over the stenciled images.  This doesn't need to be perfect as the colors will spread.


5. Shake of excess powder from tag into your container or garbage.

6. Spritz water over the entire tag.  Ensure that all the powder/crystals are activated.
Tip: Move to a craft sheet, piece of acetate, or something that you can wipe down after you are completed.

7.  Remove excess ink and water by dabbing up water with a paper towel. 

8. Repeat water and dabbing off excess ink until desired color is achieved.

10. Sprinkle tag with glitter. Shake off excess glitter.  


11. Optional:  Spray tag with glossy finish.  (This will seal the color and glitter.)

12. Die cut leaves and branches.  Sprinkle color bursts onto slick surface. (I used a cool whip container top). Spritz with water.  Die ribbon, leaves with various colors.  Apply glue stick to branches and dip in glitter.
Here is a second tag with a lighter mix of the same colors. Each time you do this process you will end up with a different look.

I hope you enjoyed the tutorial as much as I enjoyed playing with my toys.  The products are available in the store including the new leaf stencil and dies.  The Funkie Junkie Boutique

Have a lovely weekend!


Suzz

Products: